Creating a Filtered Project
In some instances, a user may wish to share only a small part of a project with another user, without burdening them with the entirety of it. If the user you are sharing with only needs access to a few views or a subset of the measurements available, this functionality can be utilized to build a new filtered project that maintains its model inheritance relationship with the initial project. Any changes made to this new project can be pushed up to the initial project, and any changes made in the initial project can be pulled down to the filtered project so long as the changes are to a non-filtered element.
Create a new filtered project
In order to create a filtered project, follow these steps:
- Go to the Manage Models page in PHENOM
- Select the project that you would like to filter
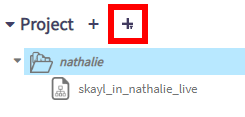
- You will notice a "Create new filtered project" button appear at the top of the list
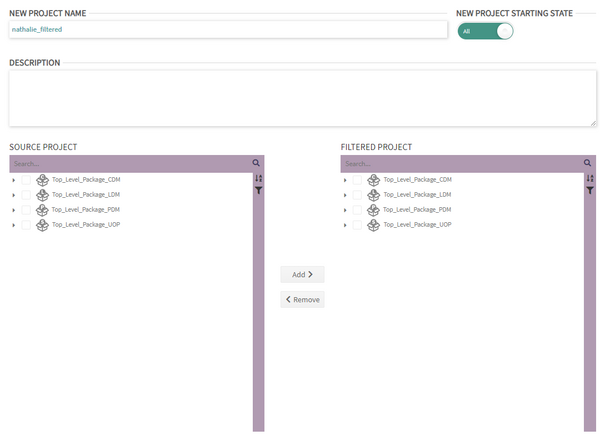
- Once you click that button, the right panel will load the creation form with two Nav Trees
- In this panel, there are several options that make filtering your project easier
- Project Name: this is the name of your resulting filtered project. It defaults to the name of your initial project with "_filtered" added to the end.
- New Project Starting State: this allows you to choose the starting state of your project, either a full project from which you remove elements or an empty project to which you add elements.
- Left Hand Nav Tree: this is the Nav Tree that represents the initial project. In this Nav Tree, you'll find every element from the model.
- Right Hand Nav Tree: this is the Nav tree that represents your filtered project. This tree will change as you add and remove elements from the initial project.
- Add Button: this button will add the selected model elements from the Left Hand Nav Tree and all the elements that they depend on to the Right Hand Nav Tree.
- Remove Button: this button will remove the selected model elements from the Right Hand Nav Tree and all the elements that depend on them.
- Once you have used the options above to filter your project to your satisfaction, you can press the Save button in the top right corner. This will create a new project that contains only the elements in the Right Hand Nav Tree, but still inherits from the models in the initial project.
Alter a filtered project
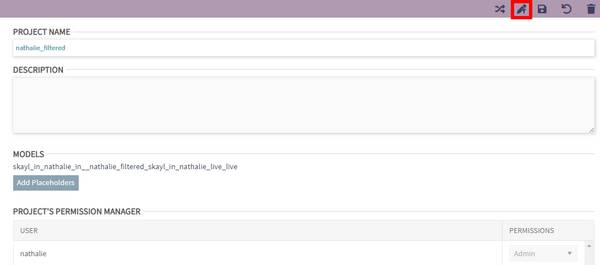
Should you not be satisfied with your filtering and wish to change it, you may press the alter filter button on the top right corner of the project details pane of the newly created project.
Please note this button is only available so long as no changes have been pushed from the filtered project and no other models have inherited from the models in the filtered project.
This button will launch the filtering dialog again, where you can follow the same steps until your model is filtered to your satisfaction.


